Safety & Right to Know
The Department of Chemistry and Biochemistry believes that it is critical for students to be made aware of their “Right to Know” regarding lab facilities, equipment, and potentially hazardous chemicals students may encounter in the lab. The Department of Chemistry has developed a student safety program that is consistent with OSHA’s Lab Standard and Geneseo’s Chemical Hygiene Plan (CHP). Safety measures will be presented to you through your experimental procedures, pre-lab lectures, and other safety documentation as applicable.
In accordance with Geneseo’s CHP, all labs will minimize the use of any chemicals listed as carcinogens (cancer-causing) or acutely toxic. However, experiments may still contain other hazardous (e.g., flammable, corrosive) materials whose use cannot be substituted or avoided.
As a student in Chemistry labs at Geneseo, it is your “Right to Know” the following information organized in the dropdown menu below. Please also consult the Safety Data Sheets (SDS) webpage for information regarding the specific chemicals you may encounter in a lab setting.
Common sense and common courtesy will prevent many unintentional situations from occurring in a lab setting. Please abide by the following when in a lab setting:
- Speak up when something looks suspicious or out of the ordinary. Safety is everyone’s responsibility.
- Do not rough-house, climb on furniture, or remove anything from the lab.
- SUNY Geneseo is a tobacco-free campus. Smoking and vaping are prohibited on all campus grounds at all times.
- Never work alone in the lab or without the supervision of your instructor.
Failure to comply with any safety procedure in a lab setting may result in your removal from the lab at the instructor’s or Chemistry Stockroom & Safety Manager’s discretion. Instructors reserve the right to dock points from assignments for unsafe practices, if they wish.
Please consider the following tips as you work with peers in a shared lab space:
Preparedness:
- Be aware of your surroundings, what your partner is doing, and what the people around you are doing.
- Read your procedure ahead of time and any applicable safety data sheets (SDS) for the chemicals you will be using so you are not walking into the lab uninformed.
-
Come to lab properly dressed and with your personal protective equipment (PPE).
- The classroom labs often have several lab sections meeting throughout the day and a previous section of lab may not have cleaned the benchtop as thoroughly as appears to the eye. You should be protected from the moment you reach your benchtop until you leave.
Hygiene, Cleanliness, & Tasks Before You Leave:
- Practice good hygiene by washing your hands frequently, especially after you remove your gloves and before you leave the lab, eat or drink anything, or use the restroom.
-
Clean up your workspace when you have completed your experiment.
- Dispose of any paper towels, gloves, or other used consumable items.
- Return any shared lab equipment to where you got it from (either already at your benchtop, from the instructor’s desk, drawers at the side of the room, etc.).
- Turn off any electrical equipment used during your experiment.
- Wipe the benchtop down with soapy water and dry.
- Ensure all chemical waste has been disposed of properly.
General:
Personal protective equipment (PPE) offers you an additional layer of protection against many of the hazards you may or will encounter in a lab setting.
Please understand that PPE is not foolproof. It is intended to act as an additional barrier from your body, or to give you enough time to react appropriately to a spill or exposure. When used properly, and in combination with other safety practices, you will be well-prepared for whatever you may encounter in the lab.
The following lab-specific PPE are required at all times in the lab:
- Thigh-length lab coat
- Safety goggles (not glasses)
- Gloves (nitrile-preferred)
Note: gloves will be provided to you for your use during the lab period. It is the student’s responsibility to source an appropriate lab coat and pair of safety goggles. Lab coats and safety goggles can be found at numerous online retailers, or on-campus at the campus bookstore in the MacVittie College Union.
The following dress code is required at all times in the lab, regardless of the weather:
- Generally speaking, you should be completely covered from the neck to the floor with no visible skin showing.
-
T-shirts, sweatshirts, and other tops are all acceptable on the top half of your body.
- Tank tops, sports tops, or any clothing that would expose your chest or midriff are not permitted in the lab.
-
Jeans, sweatpants, pants, tights, leggings, skirt/dress with tights/leggings are all acceptable on the bottom half of your body.
- Shorts, clothes with rips or tears, or any clothing that exposes some or all of the leg are not permitted in the lab.
-
Closed-toe shoes with your ankles covered are the only acceptable footwear in a lab.
- Sandals, slippers, Crocs, Birkenstocks, bare feet, etc. are all not permitted in the lab.
- Long hair needs to be tied back, pulled up, or put under a hat.
-
Personal accessories, including but not limited to: glasses, hats, head coverings, jewelry, and long nails, are all allowed to be worn in the lab permitting that they do not interfere with your ability to wear your other PPE or your ability to safely handle equipment and complete your experiment.
- Dangling jewelry should be taken off or tucked away, long nails must not puncture gloves when they are to be worn, etc.
Generally, looser fitting clothing is recommended in a lab setting. In the event of a full-body spill or other emergency, tighter-fitting clothing may be more difficult to remove.
If you choose to wear a face mask to lab, it is recommended that you put on a clean disposable mask for the lab period and remove it when you leave to prevent you from breathing in chemical residue trapped in the mask for longer than intended. Face masks are available in the hallways around the lab room and at the Chemistry Stockroom.
You may not participate in lab if you are dressed inappropriately for lab. An effort will be made to identify if you are dressed inappropriately before class begins to minimize time missed from the lab as you will need to change. Failure to follow dress code, or any safety rules in the lab may result in your dismissal from the lab or may impact your grade at your instructor’s discretion.
Lab Coats:
A lab coat is required for all experiments, regardless of that experiment’s perceived safety. Lab coats must be worn any time that chemicals or experimental equipment are being used in the lab (not necessarily by you).
Lab coats serve mostly as a layer of defense against incidental exposure to a chemical and does not provide complete protection from all chemicals found in a lab. Lab coats do not protect you from prolonged or repeated exposure to a chemical.
The Chemistry Stockroom sells disposable lab coats for $5.00 which can be paid for in cash or billed to your student account, only, if you forget your lab coat.
Safety Goggles:
Eye protection is the single most important piece of protection that you can wear in a lab setting.
Safety goggles are required for all experiments, regardless of that experiment’s perceived safety. Safety goggles must be worn any time that chemicals or experimental equipment are being used in the lab (not necessarily by you).
Safety goggles must be compliant with regulations established in ANSI Z87.1-1989. The safety goggles sold in the Geneseo Bookstore are compliant in this manner, and most commercially available safety goggles that can be bought online are as well.
Safety goggles offer you three protections that safety glasses, prescription glasses, or sunglasses do not. Safety goggles:
- Are splash-resistant (they are not splash-proof)
- Make a seal around your eyes
- Are indirectly vented
Gloves:
Generally, nitrile gloves offer you the most protection in a lab setting. No glove is impermeable to all chemicals, though. And such, like your lab coat, gloves serve mostly as a layer of defense against incidental exposure to a chemical and do not provide complete protection from all chemicals found in a lab. Gloves do not protect you from prolonged or repeated exposure to a chemical. Many gloves will begin degrading when they are in contact with a chemical.
Consult a glove compatibility chart to see how common glove materials interact with chemicals. Table 4 (page 28) of OSHA’s Personal Protective Equipment document has such a chart.
Gloves should be changed every 20 minutes, or as soon as they become soiled, whichever is sooner. Wash your hands any time you change gloves as chemicals may have penetrated the glove without your knowledge.
Remove your gloves before you leave the lab to prevent cross-contamination to the doorknob and into the hallway where chemistry is not actively happening.
-
All food, drink, or anything intended to be consumed are prohibited in the lab at all times (including water).
- There are too many potential sources of cross-contamination to allow consumption of anything to occur in a lab setting.
- Be mindful that many lab courses begin around common mealtimes and plan accordingly.
- If you need to consume anything during the lab period, you should always remove your gloves, wash your hands, and consume your item(s) completely in the hallway before returning to the lab.
- Do not taste anything in a lab under any circumstances.
General Etiquette for Handling Chemicals
- Do not handle any chemical, no matter its perceived safety, without your full, proper PPE.
- Remember that gloves are not guaranteed to protect you even when worn properly.
- Never pour chemicals back into their stock containers. You could be contaminating the supply for all future users, and you could generate fumes, dust, or other unintended reaction circumstances.
- Return chemicals and equipment to where you found them promptly. Others may be looking to use that item, or it must be kept in specific storage conditions for everyone’s safety.
- Handle toxic chemicals in the fume hoods exclusively. Do not work with toxic chemicals at your benchtop, when possible.
- Always transport chemicals in a secondary containment in case the chemical leaks, the container fails, or you drop the chemical.
- Read the safety data sheet for the chemical you are touching before you handle it.
- Read your experimental procedure and all supporting information prior to handling chemicals. Your procedure may identify the biggest risks that you will face during your experiment.
Chemical Labeling
In the lab, you will encounter chemicals in one of two ways: either in the bottle as the Chemistry Stockroom received them from the vendor they were ordered from, or in a bottle that the Chemistry Stockroom has transferred that chemical into, either for ease of use or so many students may use the chemical without bottlenecking.
Bottles prepared by the Chemistry Stockroom will be labeled in the following way, in order to maximize the information provided to you:

Household Chemicals & Familiar Items
Occasionally, you may use common or household chemicals or substances that you recognize from home (e.g., spices, acetone). Nothing in a lab setting is for human consumption at any time, under any circumstances. Do not remove these items from the lab or be tempted to take them home. You should always handle these items with the same caution as a traditionally more dangerous chemical as you are using them in a different capacity in the lab.
Chemical Storage
Per the American Chemical Society, the following should be observed regarding the storage of chemicals.
All chemicals should be stored in designated, locked areas designed for chemical storage. Safety features for chemical storage must follow local and state guidelines and recommendations. At the bare minimum, the area should contain the following:
- Shelving for chemicals, organized to account for hazards and incompatibility.
- Separate, designated, enclosed cabinets for acids, bases, oxidizers, organics, and other flammables.
- Equipment should be stored in separate cabinets from chemicals.
- If chemical storage is near a classroom with emergency equipment and no physical barrier, then no additional safety equipment is needed in the chemical storage area. If the chemical area is detached from the classroom, it should be outfitted with safety equipment. If the chemical storage room is located remotely, consideration for safe transport must be made (carts, secondary containers, transport time, etc.).
Per Geneseo’s Chemical Hygiene Plan, Appendix Two, chemicals should be stored according to the following guidelines:
| Storage Class | Guidelines |
|---|---|
| Acids |
|
| Bases |
|
| Flammables |
|
| Oxidizers |
|
| Water-reactives |
|
| Light-sensitive materials |
|
| Peroxidizable |
|
| Acutely toxic (p-listed) |
|
| Explosives or highly unstable materials |
|
A vast majority of the equipment used in the lab is made of glass, and as such, is susceptible to chips and breaks with repeated use.
Handling Broken Glass:
Never pick up broken glass with your hands.
While broken glass presents a hazard of being sharp with the potential to cut you, broken lab glass is often covered in chemical residue, which when causing a cut can lead to compounded side effects.
If you break a glass item in the lab, always inform your instructor or LA and they will advise you if it needs to be handled a certain way. Clean up the broken glass with a dustpan and broom and place the broken glass in the glass trash in the lab, the white and blue cardboard box labeled as such.
Obtain a replacement item from the Chemistry Stockroom, if necessary. Do not bring broken glass to the Chemistry Stockroom under any circumstances.
Thermometers:
You will often borrow a thermometer from the Chemistry Stockroom as part of your experimental procedure. The thermometers used by the Chemistry Stockroom are filled with methanol that have been dyed blue, a relatively low toxicity substitute for a mercury thermometer. You will never use a mercury thermometer in a classroom lab at Geneseo.
Be cautious when handling a thermometer as they are prone to rolling off the countertops and breaking. Generally, thermometers are quite thin, so avoid using a thermometer to stir a solution.
Ground-Glass Joint Glassware:
Manufacturers often fabricate lab glassware with ground-glass fittings, or “joints” or “standard taper joints” which have standardized dimensions and are designed to fit together perfectly. Ground-glass fittings often look ‘frosted’ and are somewhat opaque compared to the rest of the glass.
Academic labs at Geneseo use 19/22 glassware, where the first number represents either the inner diameter (mm) of the female joint, or the outer diameter (mm) of the male joint, and the second number represents the length of the joint (mm).
Ground-glassware offers several advantages, including lack of contamination by other materials, efficiency in assembly, and compatibility with any other glassware of the same joint size. Due to its versatility, ground-glassware tends to be more expensive.
Lubricating Ground-Glassware:
Although ground-glass joints usually seal well on their own, it is good practice to lubricate them to prevent the joints from sticking, leading to potential breaks. A small jar or tube of petrolatum-based grease is found at the instructor’s desk in the organic and advanced labs for your use during lab. Note that petrolatum (hydrocarbons) is soluble in most organic solvents so you will need to reapply grease for each reaction.
Apply a small amount of grease to the upper part of the inner joint using a wooden boiling stick, connect the ground-glass joints, and twist gently to evenly spread the grease. A properly greased joint will appear completely transparent as the grease fills in the tiny surface imperfections of the ground-glass. Avoid getting grease on any part of the glassware in which chemicals or vapors may come into contact to prevent unintended contamination or reactions.
To lubricate a glass stopcock, apply grease in the same manner, but put two small amounts on either side of the hole and do your best to prevent the grease from entering the stopcock hole.
Completely clean the joints of ground-glassware when your experiment is finished using an organic solvent to prevent accumulation of dirt, dust, and other contaminants.
Assembly of Ground-Glassware
Proper setup of your experimental apparatus is necessary to ensure your experiment is successful with the least chance for damage or failure in glassware. Keep the following tips in mind when building your experimental apparatus:
- Plan your assembly first and ensure you will have easy and adequate access to all parts of the setup.
- Use as few clamps as necessary (which may seem counterintuitive). The precision of ground-glassware allows for very little room for misalignment and the joints themselves provide stability and strength.
- Support all flasks from the bottom, even if clamps appear to be holding the necks securely.
- Assemble the apparatus from the bottom up.
- Loosely tighten clamps until everything is aligned, and then tighten clamps once you are satisfied with the alignment.
- Do not build your apparatus at an angle.
Stuck Joints
Occasionally, ground-glass joints may become stuck together for a variety of reasons. You may try to unstick the joints with the following methods:
-
Gentle tapping
- Gently tap the stuck glassware or the stuck joint to try and dislodge it with small vibrations. Do not use another piece of glass to tap.
-
Heat
- Gentle heating causes the housing of the joint to expand slightly. Allow the stuck glassware to warm a bit, then try gently twisting and tapping to dislodge the stick.
-
Soaking
- Soak the stuck glassware in a hot solution of dilute glycerin in water, allowing the solution to seep into the stuck joint. Try gently twisting and tapping to dislodge the stick.
-
Bring it to the Chemistry Stockroom
- Allow the Stockroom Manager to try and dislodge the stick for you. Depending on the situation and effort involved, the Stockroom may just exchange your stuck glassware for separate pieces as a courtesy.
-
Break it
- While destructive, it is not uncommon for the stick to resist all methods of loosening and your only remaining option is to break the lesser value or lesser importance item to free the other.
- This should only be done as a last resort, and it is recommended that you allow the Stockroom Manager to do this for you.
Cleaning Glassware
Most glassware can be cleaned with water, dilute dish soap, and gentle scrubbing. For some glassware, you may need a more specialized detergent, such as Alconox, to clean properly.
Keep the following tips in mind when washing your glassware:
- Clean glassware immediately after use, if possible, to prevent residues or salts from forming.
- Firmly handle your glassware as it will be quite slippery when soapy.
- Wash your glassware with deionized water, or rinse the glassware with deionized water as the final water step, when possible, to prevent unintended contaminants on your glassware.
- To dry clean glassware, place in an oven or rinse with a small amount of acetone.
- Deionized water will spread out evenly on the surface of clean glass, and will form droplets on the surface of dirty glass.
- Like dissolves like.
If your glassware has stubborn stains or residues, try the following tips:
- Organic residues – try acetone, or a low molecular weight solvent (e.g., methanol, ethanol), and as a last resort, ethyl ether.
- Inorganic residues – soap and water should remove most of these residues, but if the residue is a metal salt, a dilute solution of the corresponding acid should remove it (i.e., sulfates are soluble in sulfuric acid). Acetone and organic solvents will not remove these no matter how much you use.
- Oils and grease – if standard organic solvents do not remove this, try petroleum ether or hexanes.
- Brown permanganate stains – although inorganic, soap and water may not remove this. A dilute oxalic acid solution should remove it, though.
Proper handling of chemicals and your experimental setup, in combination with your full PPE, can prevent most of these occurrences entirely. At the same time, these things do still happen, and knowing what to do if these things occur can help to resolve the situation quickly and without panic.
Spills
A spill can occur in a variety of ways – a bottle containing a chemical may leak or fail, you may bump or drop your equipment, or someone else may cause the issue. Any time a spill occurs, immediately alert your instructor and laboratory assistant, if you have one. It’s also good lab courtesy to let those around know of the spill as well. Your instructor will work with you on how to properly clean the spill up and document any waste generated as a result. Do not attempt to clean up a spill yourself.
Saturated sodium bicarbonate solution is available at each sink in the labs for neutralizing minor acid and base spills.
Injuries
You may receive an injury by a piece of broken glassware or other sharp surface, or a physical injury such as a burn. Like with any spill, any injury should always be reported to your instructor and laboratory assistant as soon as possible, even it is very minor. Any injury, no matter how minor, poses a new risk to you in a lab in which chemicals now have an additional route to your bloodstream, potentially making that injury much worse.
Minor Injuries:
Minor injuries that can be treated with basic first aid may be handled in-house. Please follow these steps if a minor injury occurs:
- Alert your instructor and laboratory assistant that you are injured.
- Thoroughly wash the affected area with cold water and soap.
- Apply pressure if a cut is still bleeding.
- Bandage the injury appropriately.
Major Injuries & Chemical Exposures:
Major injuries or exposure to harmful quantities of particular chemicals require emergency medical attention as quickly as possible. Do not hesitate. Please follow these steps if a major injury or chemical exposure occurs:
- Alert your instructor and laboratory assistant that you are injured or have been exposed.
- Emergency personnel will be notified and dispatched to your location.
- Continually flush the affected area with cold water.
- Have someone else consult the SDS for the chemical, if applicable.
- Keep the area clear so emergency personnel may assist you.
In the event of a chemical exposure to your eyes, or a full-body splash from a chemical, you must use the emergency eyewash or safety shower, respectively.
Emergency Eyewash
Every lab is equipped with an emergency eyewash for your use, if needed. Emergency eyewashes are generally located at the front of the room at the instructor’s desk or near the entry/exit to the lab room as. An emergency eyewash may also be part of the room’s safety shower. Ensure you are familiar with the location of the nearest emergency eyewash to your workspace prior to beginning any experiment.
Get water into your eyes as fast as possible. It is imperative that you do not hesitate as many chemicals have the potential to significantly damage your eyes in very little time. Ideally, your proper PPE will protect you against the need to use an emergency eyewash, but if you do need to use one, please follow these steps:
- Pull up on the short hose to the emergency eyewash and squeeze the large trigger to start the flow of water.
-
Aim the water directly into your eyes.
- If you are wearing glasses, remove them or have someone remove them for you.
- If you are wearing contacts, the flow of water will push the contacts out of your eyes. Do not attempt to remove contacts.
-
Hold your eyes open and roll your eyes around in your head so water makes physical contact with every part of your eyes.
- If you cannot hold your eyes open yourself, someone will hold your eyes open for you.
- Use the emergency eyewash for a minimum of fifteen (15) continuous minutes, ideally until emergency personnel arrive.
Safety Shower
Every lab is equipped with an safety shower for your use, if needed. Safety showers are generally located in the entry/exit to the lab room. Most safety showers also contain an emergency eyewash. Ensure you are familiar with the location of the nearest safety shower to your workspace prior to beginning any experiment.
Get water to make direct contact with your skin as fast as possible. It is imperative that you remove all clothing. Chemicals splashed onto your clothing become trapped in the fibers of the clothing and may be held against your skin, causing further damage. Ideally, your proper PPE will protect you against the need to use a safety shower, but if you do need to use one, please follow these steps:
- Pull down on the handle to the safety shower to start the flow of water.
- Allow the water to make direct contact with your skin. Bystanders should offer as much privacy as they can without compromising your safety.
- Use the safety shower for a minimum of fifteen (15) continuous minutes, ideally until emergency personnel arrive.
Fire Extinguishers
As a student in Chemistry labs at Geneseo, your only obligation in the event of a live fire is to provide your instructor or the Stockroom & Safety Manager with the fire extinguisher if they cannot reach it themselves. Do not attempt to fight a fire in a lab setting under any circumstances, even if you have been trained on fire extinguisher use in the past. Many times, a lab fire may behave much differently than a standard household fire might, and you may make the situation much worse.
The fire extinguisher in each lab room is attached to the wall very close to the entrance to the lab. Identify the location of the fire extinguisher prior to starting any experiment. Fire extinguishers are overseen by the Department of Environmental Health & Safety.
In general, fire extinguishers are sorted into five classes, with each class having a specific intended target. At Geneseo, fire extinguishers in labs are combination Class B & C extinguishers. The classes of fire extinguishers are explained in the table below:
| Extinguisher Class | Identifying Symbol | Extinguisher Target | Examples |
|---|---|---|---|
| A | Green triangle around the letter “A.” | Ordinary combustibles. | Wood, paper, cloth, trash, plastics, non-metal solids. |
| B | Red square around the letter “B.” | Flammable or combustible liquids and gases. | Gasoline, oil, petroleum grease, tars, oil-based paints, solvents, lacquers, alcohols, flammable gases. |
| C | Blue circle around the letter “C.” | Electrical. | Energized (plugged-in) electrical equipment. |
| D | Yellow star around the letter “D.” | Metals. | Magnesium, titanium, sodium, lithium, potassium. |
| K | Black hexagon around the letter “K.” | Kitchen. | Grease, oils (vegetable or animal), fats. |
Occasionally, the lab may need to evacuate for a fire drill or other emergency. For any evacuation, do your best to remain calm and follow these steps:
- Only if you are safely able to do so, turn off any equipment that you are actively using, cap any chemicals, and stop any experimental procedures.
-
Leave the lab in an orderly and deliberate fashion and travel to the first floor of the Integrated Science Center via the nearest unobstructed stairwell. Do not use an elevator.
- In classroom labs, the closest stairwell is immediately to your left if you’re in ISC 314 or 315, or immediately to your right if you’re in ISC 318 or 319.
- The next closest stairwell is in the center of the hallway, across from the Chemistry Stockroom (the stairwell with the large dinosaur chalk mural).
- The third closest stairwell is at the end of the hallway, toward Bailey Hall, or down the hallway toward the ISC atrium.
-
Assemble in the designated meeting spot for Chemistry, which is by the Greenhouses behind Newton Hall, in Parking Lot A.
- Please do not stop immediately as you exit the building to block the flow of traffic.
- Do not attempt to re-enter the building until it has been cleared by an official.
If you are aware that you have a medical condition that might be affected by participation in a lab (e.g., allergies, sensitivities to UV light) or may impact safe performance in a lab setting (e.g., seizures), you should consult your medical provider and the instructor prior to taking any lab.
Those that are pregnant or may become pregnant are strongly advised to make this information known to their instructors and the Chemistry Stockroom & Safety Manager so they may be given all safety information related to the materials that will be used during the course of the lab to consult with their medical provider. You may be asked to complete a Student Pregnancy Advisement Form by the Department of Environmental Health & Safety.
If you need assistance in the event of an evacuation, either for a medical condition or physical circumstance (e.g., crutches, wheelchair), please inform the Chemistry Stockroom & Safety Manager and complete a Self-Identification for Emergency Assistance Form. If the Chemistry Stockroom knows that a student needs additional assistance in the event of an evacuation, you will be given additional assistance to ensure you evacuate safely and in a timely manner.
The American Chemical Society (ACS) has developed the acronym RAMP to help keep a safe lab environment for students and educators. For more information, visit their Safety Basics & RAMP webpage or read the ACS’s 2018 RAMP Brochure.
R – Recognize Hazards
Hazard: any source of potential damage or harm to a person’s health.
- Use labels on bottle and container to identify the most important hazards of the contents. Use SDS to identify Globally Harmonized System (GHS) hazards of the chemicals you will be using (physical, health, and environmental hazards). The main hazard categories are flammables, explosives, corrosives, oxidizers, irritants, and toxicants.
- Understand the nature of the hazard (its chemistry and/or toxicological/biological effects).
- Identify the most important physical hazards from equipment, conditions, and procedures (electrical and mechanical hazards, high or low temperature or pressure).
A – Assess Risks from Hazards
Risk: the probability of harm or damage from a hazard.
- Assess the risks presented by the most important hazards.
- Use SDS and the GHS hazard categories and statements to determine the relative risk of the hazards.
- Check to be sure all glassware and equipment are in good shape and working condition.
M – Minimize the Risk of Hazards
- Identify methods and safe practices to minimize the risks from exposures to chemicals and from physical hazards.
- Understand the nature and limitations of personal protective equipment, chemical hoods, and other safety equipment.
- Locate online and printed materials to identify safe practices and consult with more experienced chemists.
- Wear personal protective equipment such as safety goggles, lab coats, and appropriate gloves. The dress code in a lab should be such that there should be no exposed skin below chest level.
- Use appropriate waste containers when discarding chemicals.
P – Prepare for Emergencies
- Know and practice the procedures for handling common emergencies such as spills, cuts, burns, exposures, and fires.
- Discuss emergency procedures with students, both in a general way and with regard to each experiment.
- Ensure that all safety equipment (eyewash, fire extinguisher, first aid kit, and safety shower) is present and in working order.
Hazard Communication Standard (HCS)
In 1970, the Occupational Safety and Health Act established the Occupational Safety and Health Administration (OSHA) within the US Department of Labor. The Act stated that employees should be informed of all hazards to which they are exposed while working.
In the early 1980s, OSHA enacted the Hazard Communication Standard (HCS) via 29 CFR 1910.1200, and it became effective in 1986. The premise of the HCS is that employees who may be exposed to hazardous materials in the workplace have a right to know about the hazards they pose and how to protect themselves. The HCS is sometimes referred to as the “Worker Right-to-Know Legislation,” or more commonly, the “Right-to-Know” law. The initial HCS only applied to the manufacturing industry but has since been amended to expand the scope to nearly all areas of the work force.
Students are not employees of the College (unless you hold a temp-service position), and therefore are not protected under the HCS. Students are, however, protected by the Lab Standard, which provides students with the same access for protective information as the HCS does.
Lab Standard
Teaching and research labs in the Chemistry Department are protected by the Occupational Exposure to Hazardous Chemicals in Laboratories standard (29 CFR 1910.1450), aka the “Lab Standard.” Similarly, Geneseo’s Hazard Communication Plan (which is based on OSHA’s HCS) specifies that labs are subject to Geneseo’s Chemical Hygiene Plan (which is based on the Lab Standard).
The Lab Standard is more technical than the HCS and includes additional provisions, such as the proper maintenance of chemical fume hoods and other safety equipment. As students in Chemistry labs at Geneseo, you do not need to worry about the difference in specifics between the HCS and the Lab Standard; the SDS, labeling, and other compliance to safety measures in place are identical between the two.
National Fire Protection Agency (NFPA):
The NFPA, in section 704 of the National Fire Code, outlines a system for identifying the hazards associated with materials. This system was developed with the needs of fire protection agencies in mind, but it is useful to anyone in a lab setting. This is the system that we label chemicals by at Geneseo because in the event of an emergency, emergency personnel will be called and this is the system that they are most familiar with.
The NFPA system uses a color-coded diamond with numbers and letters to convey the relative hazard of the substance, and an example is below:
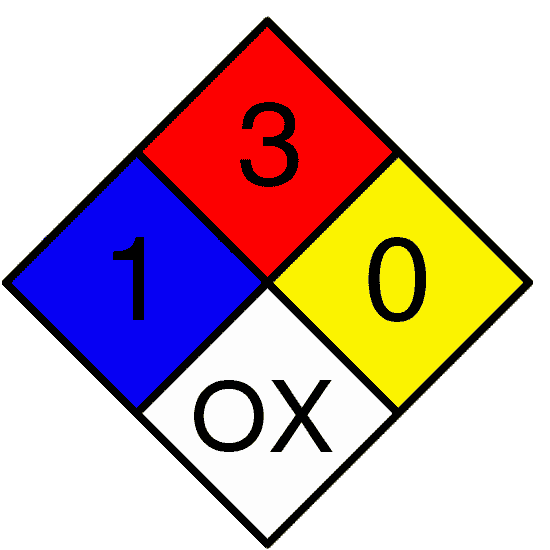
The numbering system ranges from 0 to 4, with 0 being essentially hazard free, and 4 being extremely hazardous or dangerous.
The following table explains each part of the NFPA symbol:
| Health hazard (blue) | ||
|---|---|---|
 | No hazard. | |
| 1 | Can cause significant irritation. | |
| 2 | Can cause temporary incapacitation or residual injury. | |
| 3 | Can cause serious or permanent injury. | |
| 4 | Can be lethal | |
| Flammability hazard (red) | ||
|---|---|---|
 | Will not burn. | |
| 1 | Must be preheated before ignition can occur. | |
| 2 | Must be heated or high ambient temperature to burn. | |
| 3 | Can be ignited under almost all ambient temperatures. | |
| 4 | Will vaporize and readily burn at normal temperatures. | |
| Instability hazard (yellow) | ||
|---|---|---|
 | Stable. | |
| 1 | Normally stable. High temperatures may make unstable. | |
| 2 | Violent chemical change at high temperatures or pressures. | |
| 3 | May explode at high temperature or shock. | |
| 4 | May explode at normal temperaures and pressures. | |
| Special hazard (white) | ||
|---|---|---|
 | ALK | Alkaline. |
| ACID | Acidic. | |
| COR | Corrosive. | |
| OX | Oxidizing | |
| ☢ | Radioactive | |
| Reacts violently or explosively with water. | ||
| Reacts violently or explosively with water and oxidizing. | ||
Hazardous Material Information System (HMIS):
HMIS is a labeling system developed by the National Paint and Coatings Association (NPCA) and sold through Labelmaster, Inc.
The HMIS system uses a color-coded square with numbers and letters to convey the relative hazard of the substance, and an example is below:
HMIS uses the same hazard categories for the blue, red, and yellow sections and also uses the same numbering system, 0-4, to convey relative hazard level.
In the personal protection section, a letter code from A-K is used to identify which PPE items are required to handle that material, as is as follows:
| HMIS Code | Required PPE |
|---|---|
| A | Safety glasses. |
| B | Safety glasses and gloves. |
| C | Safety glasses, gloves, and apron. |
| D | Face shield, eye protection, gloves, and apron. |
| E | Safety glasses, gloves, and dust respirator. |
| F | Safety glasses, gloves, apron, and dust respirator. |
| G | Safety glasses, gloves, and vapor respirator. |
| H | Splash goggles, gloves, apron, and vapor respirator. |
| I | Safety glasses, gloves, and dust and vapor respirator. |
| J | Splash goggles, gloves, apron, and dust and vapor respirator. |
| K | Airline hood or mask, gloves, full suit, and boots. |
Major Difference between NFPA & HMIS:
As explained above, these two systems are quite similar in the information that they provide. The major difference between these two is their intended audience.
The NFPA system is intended to alert firefighters to the hazards of materials present at the scene of a fire. The HMIS system was designed to be compliant with OSHA’s Hazard Communication Standard and targets employees who must handle hazardous chemicals in the workplace with regularity.
NFPA and HMIS will often assign the same value to each of the listed hazards, but occasionally there will be a one digit difference in the ratings (e.g., a rating of 4 in one system will never be lower than a 3 in the other system). These ratings are determined by the manufacturers of the materials and not by the government, so some variability exists. It is also assumed that in an NFPA rating, there is an active fire present, which may change the rating compared to HMIS.
The NFPA is the source of all NFPA ratings, generally in NFPA 49 Hazardous Chemical Data and NFPA 325 Guide to Fire Hazard Properties of Flammable Liquids, Gases, and Volatile Solids. HMIS ratings can generally be found through chemical vendors, such as Spectrum.
The Chemistry Stockroom prioritizes the use of NFPA ratings for lab materials, and will use HMIS is the NFPA rating is unavailable.
Globally Harmonized System (GHS) Pictograms
These pictograms are used on labels to alert you of the chemical hazards they may pose. Each pictogram consists of a black symbol on a white background with a red diamond border. The nine (9) pictograms are organized in the table below. A chemical does not need to meet all descriptions to be classified as a particular hazard.
| Pictogram | Symbol description | Description of hazard(s) |
|---|---|---|
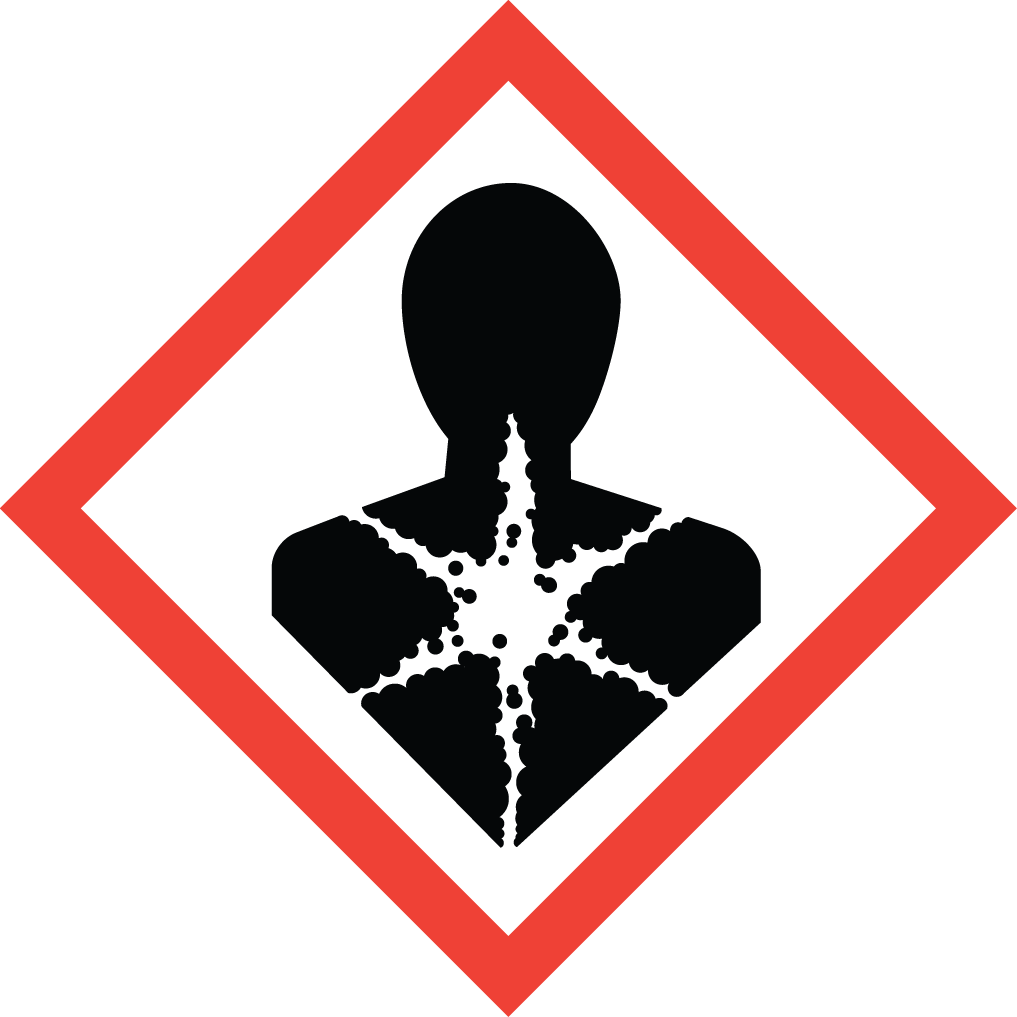 | Human silhouette |
|
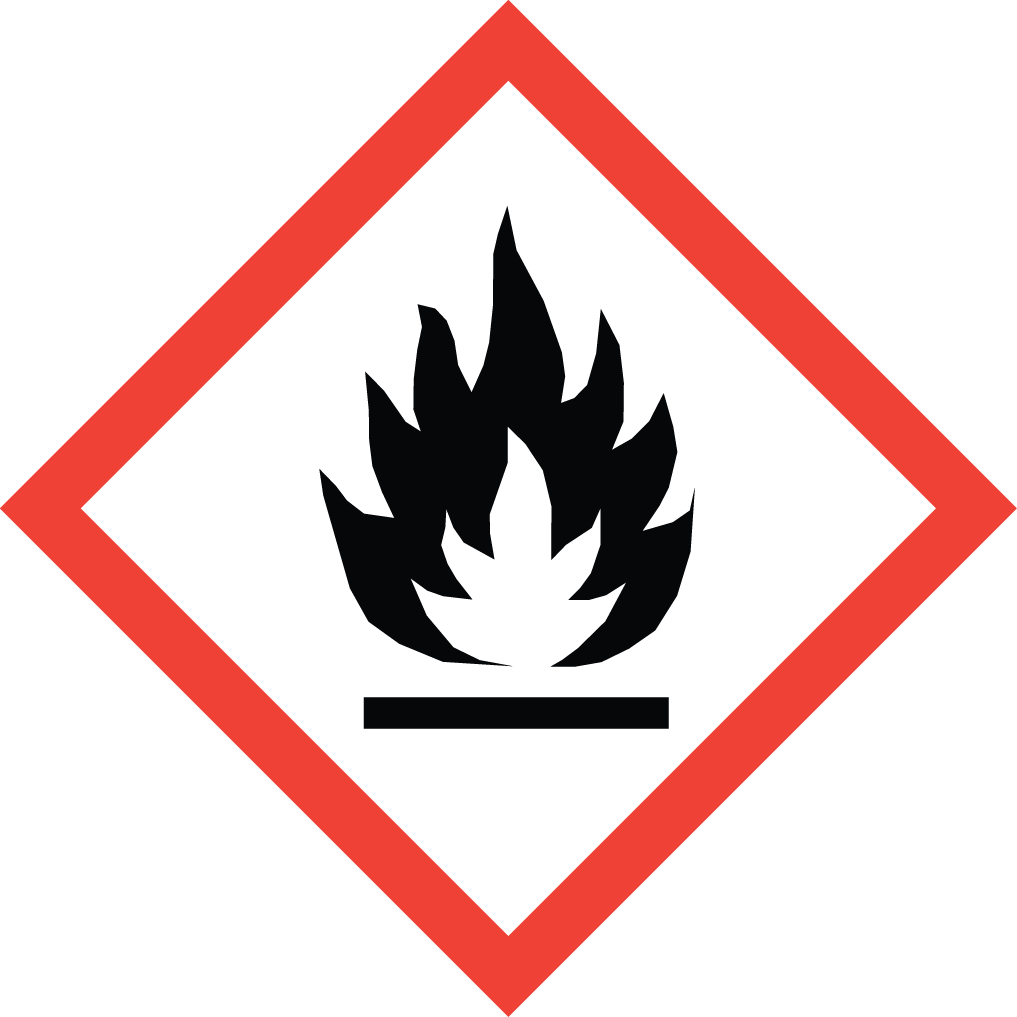 | Flame |
|
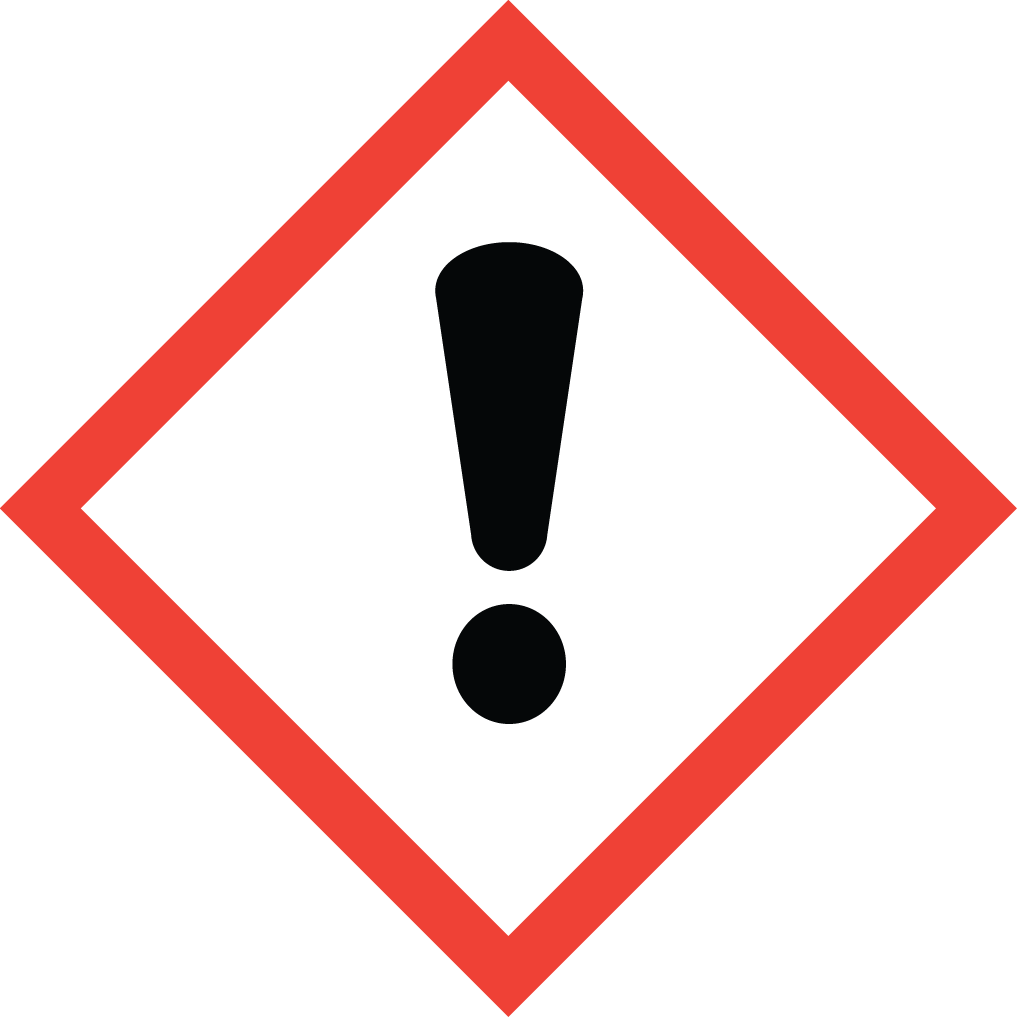 | Exclamation mark |
|
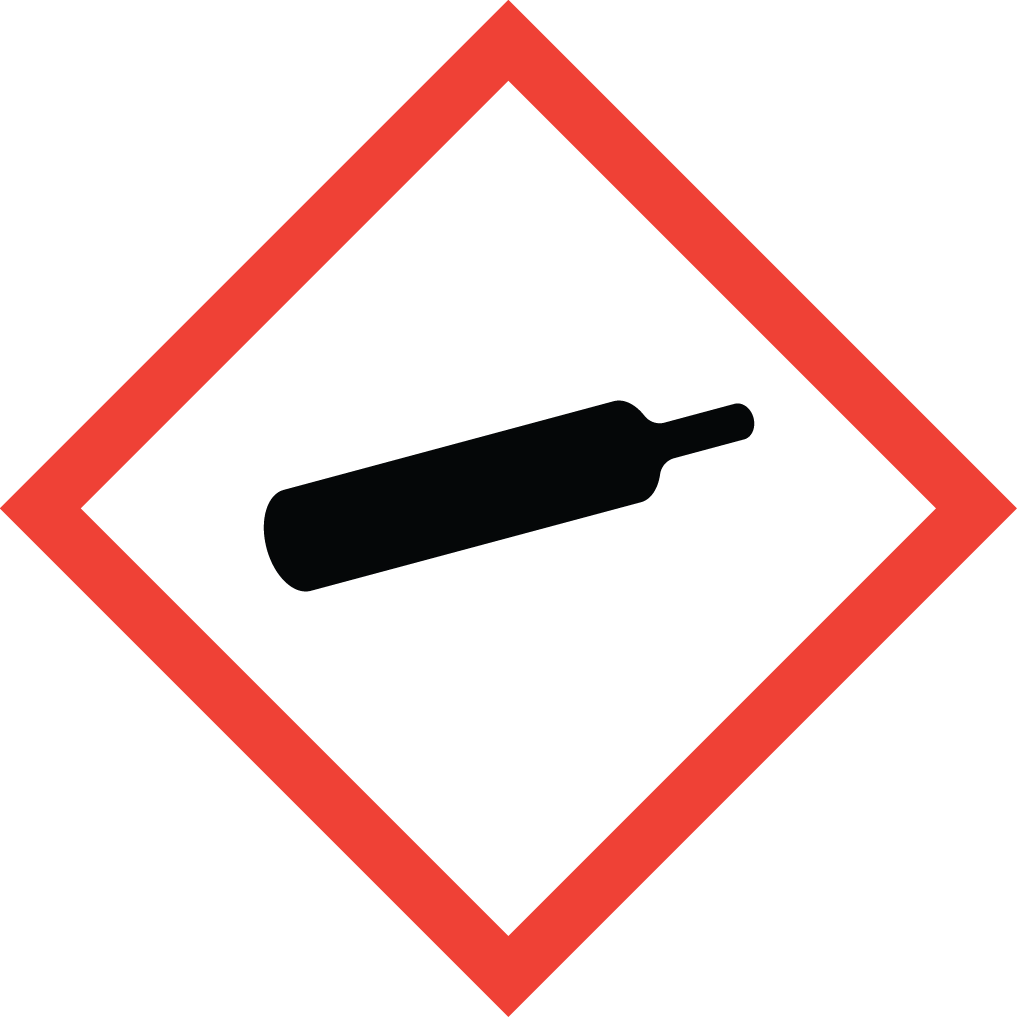 | Gas cylinder |
|
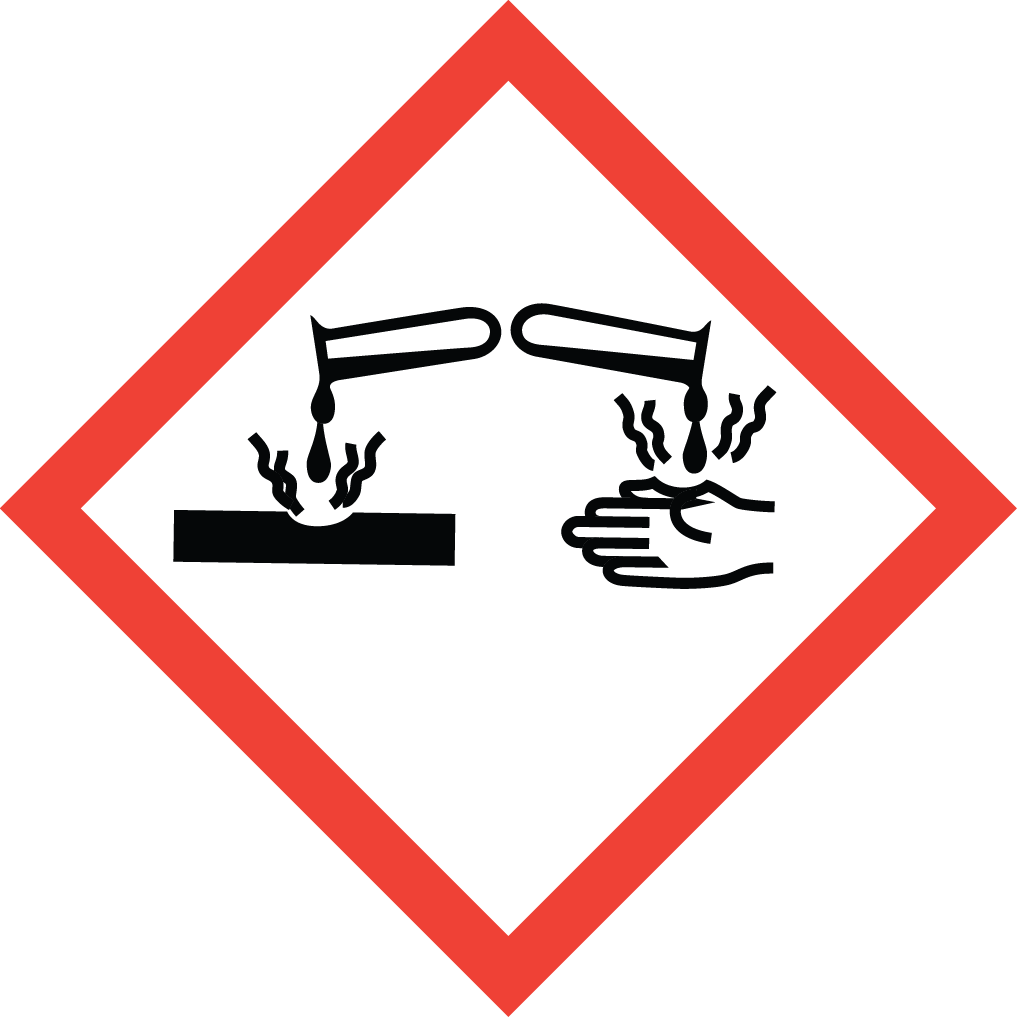 | Test tube pouring liquid on a bar and a hand |
|
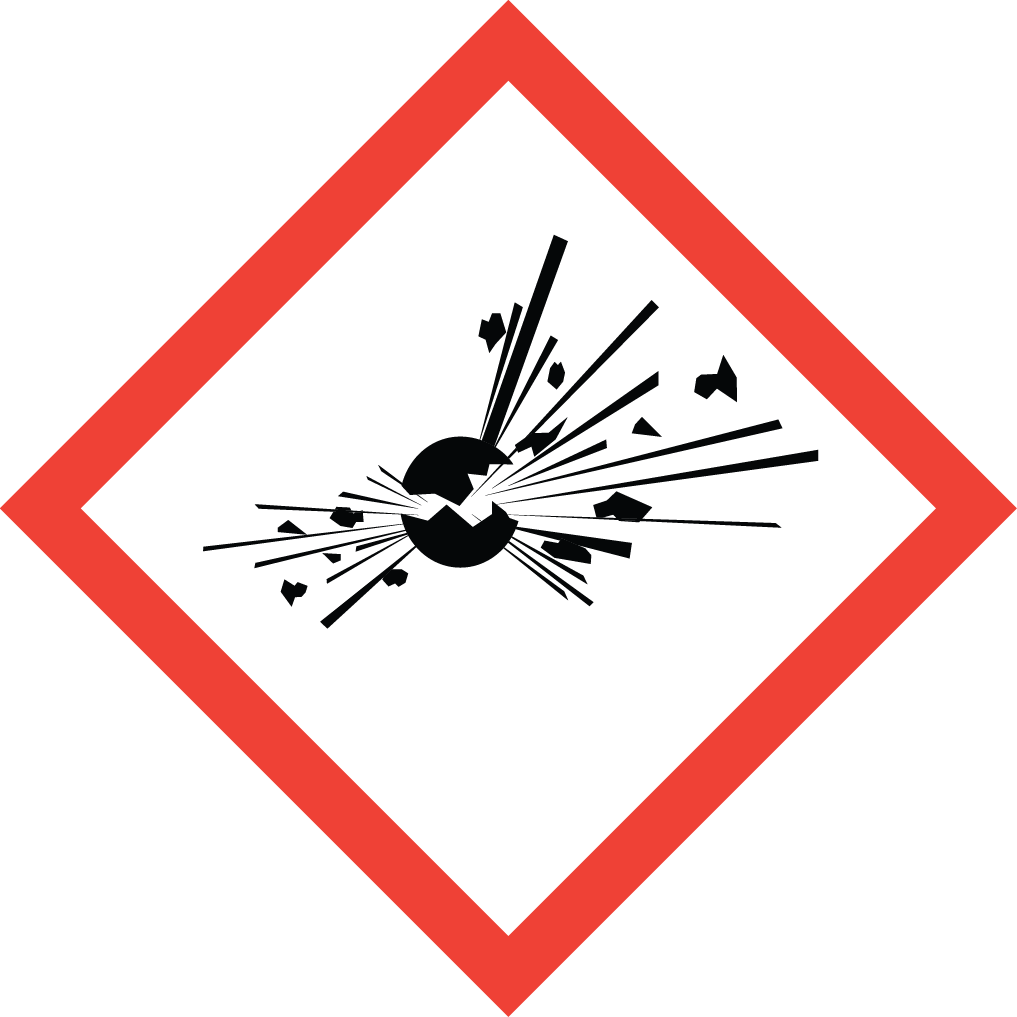 | Exploding bomb |
|
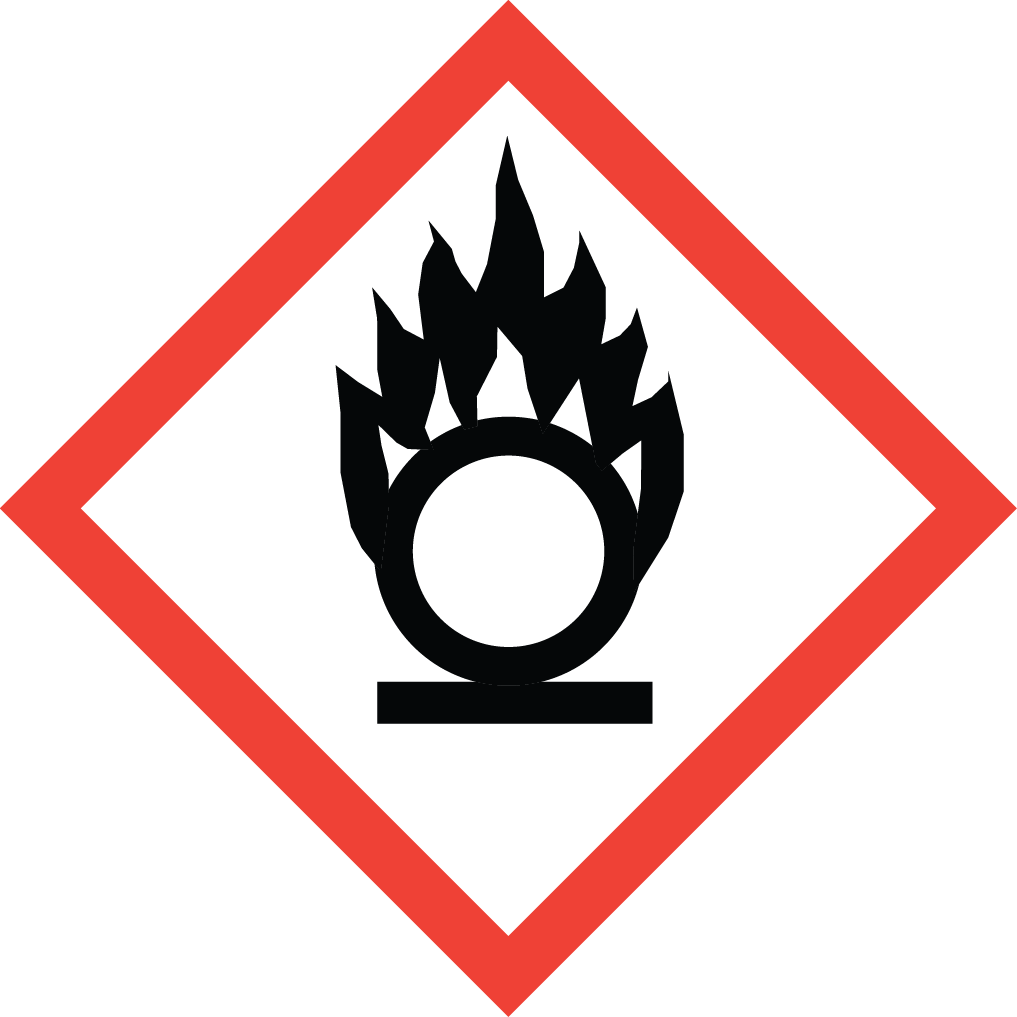 | Flame over the letter O |
|
 | Dead fish next to a tree |
|
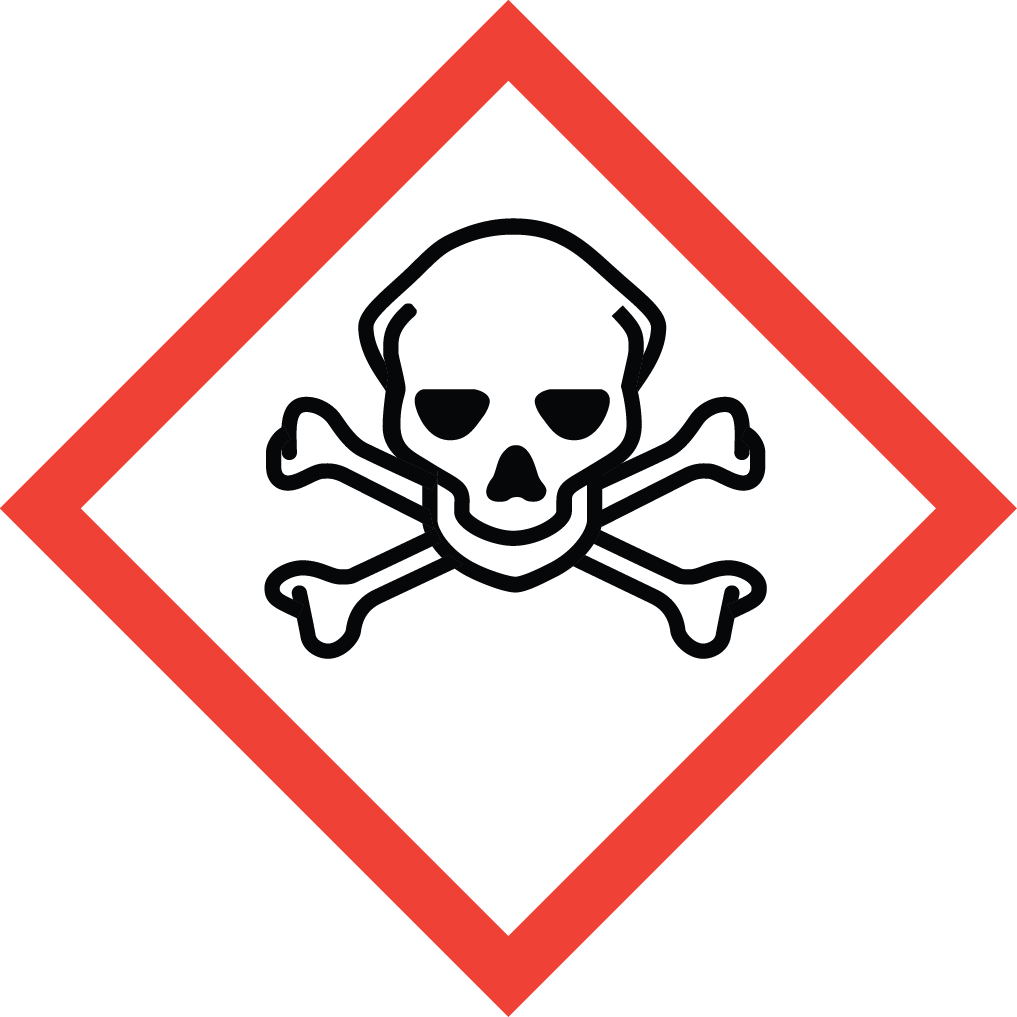 | Skull and crossbones |
|
What is a Fume Hood & How Does it Work?
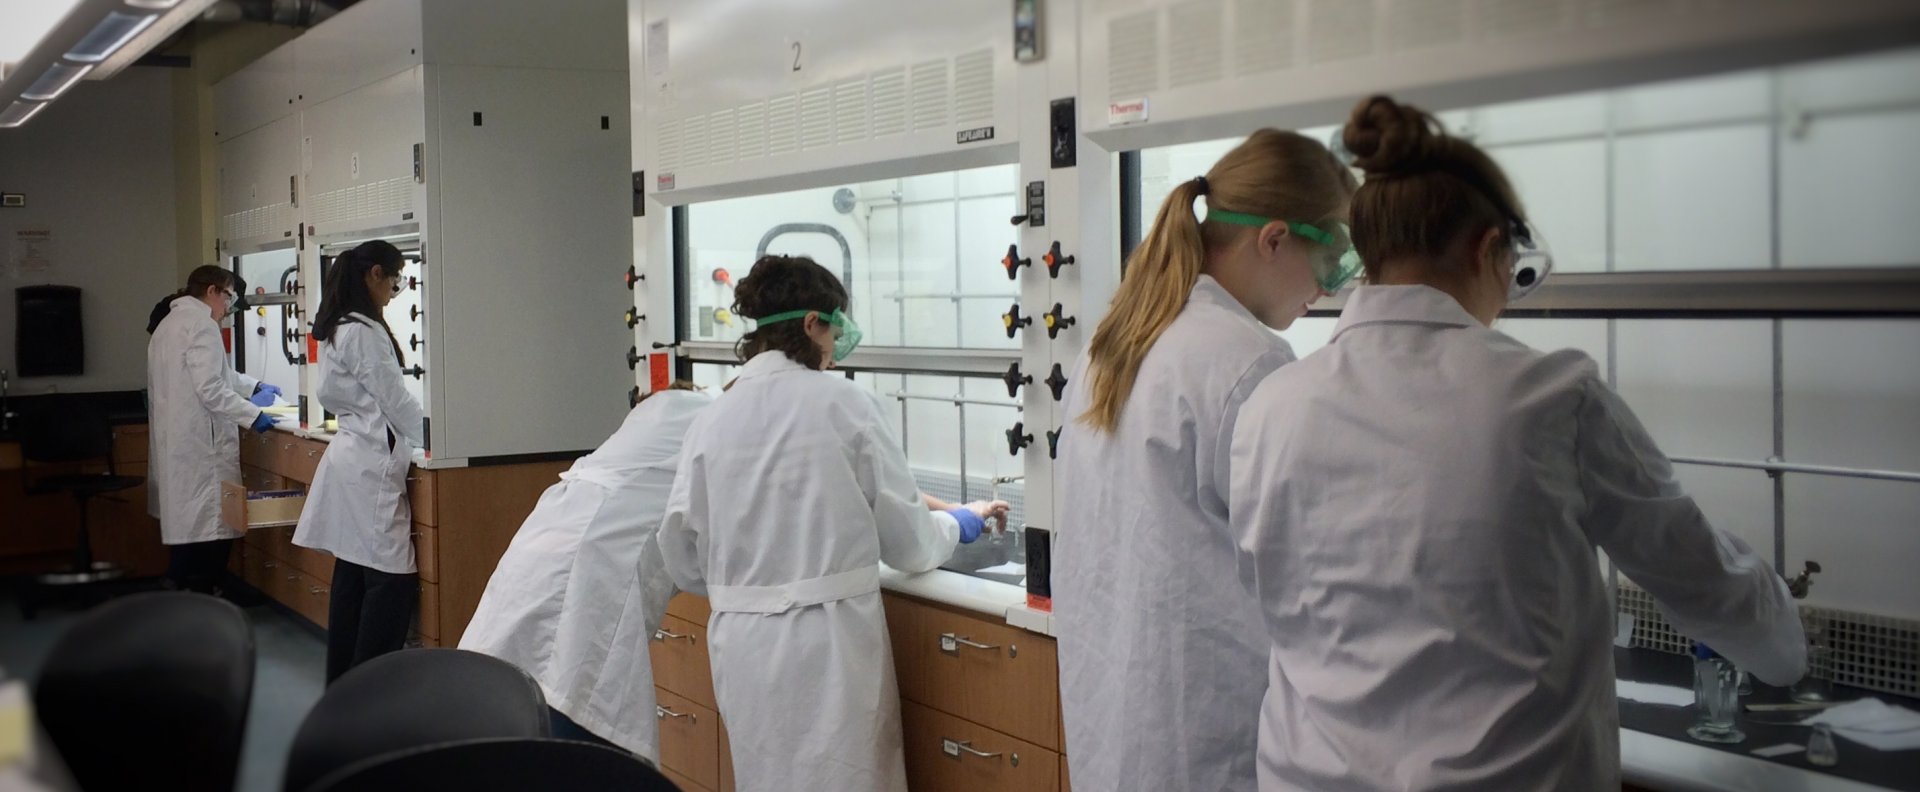
Inhalation is the most common route of exposure for chemicals to enter your body. Fumes and vapors can directly enter the bloodstream and small particles can affect your respiratory system. A fume hood reduces this exposure to fumes, vapors, gases, and dust by diluting the contaminated air with a large volume of clean, replacement air and removing the contaminated air through vents and exhaust on the roof. The glass sash of fume hoods also helps to shield you from potentially uncontrolled reactions. Geneseo’s fume hoods are inspected regularly to assess air flow and proper function but it is up to you to use them properly in order to maximize the safety they offer you.
Fume hoods pull air out of the room they are installed in, and they require an adequate volume of air present in the room to function properly. As a result, smaller rooms or rooms with multiple fume hoods will need an external supply of additional air in order for the fume hoods to achieve their required face velocity (their air flow rate). At Geneseo, all of the teaching labs have this additional air supply present. You will know if this additional air supply is ever turned off by the loud rushing of air noise in the hallways as the fume hoods are creating significantly lower pressure in the labs compared to the hallways. The doors to the labs will also be extremely difficult to open, as the hoods are pulling the air out of the room and creating a vacuum effect.
Using a Fume Hood
Fume hoods are constantly pulling air and do not need to be turned on prior to use. Each hood is equipped with an overhead light on a switch for your convenience, please use the light if your experiment is not light-reactive.
Each hood also has a glass sash that can be slid up to allow access to the inside of the hood. The sash has a maximum working height, usually 18 inches, meaning that is the highest position that the sash can be without compromising safety. Using the fume hood with the sash higher than that height does not adequately protect you. The only time the sash should be opened past the maximum working height is if you are setting up your apparatus and there are no chemicals present in the fume hood. Ideally, you should use the fume hood with the sash as low as you can physically maneuver to maximize your protection. Conduct your experiment at least 6 inches deep into the fume hood to maximize the removal of vapors from your experiment.
The Department of Environmental Health & Safety offers an online tool to report perceived safety risks in any campus space. The form is hosted here: Report a Safety Risk.
Please do not use this form if you are in an immediate threat to life or property. For emergency assistance, contact emergency personnel at 911 or University Police at (585) 245-5222.